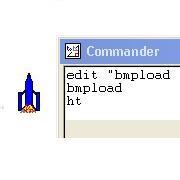
Load the source image.
This program loads a bitmap .bmp file to the coordinate origin (0 0).
to loader
home
bitload "c:\\Programming\\logo\\bmps\\test1.bmp
end
|
The \\ is necessary in the address of your bmp file. The first \ "escapes" the second so that it is read correctly by the computer.
You need to point the bitload command at an address which contains the bmp that you wish to load.
|
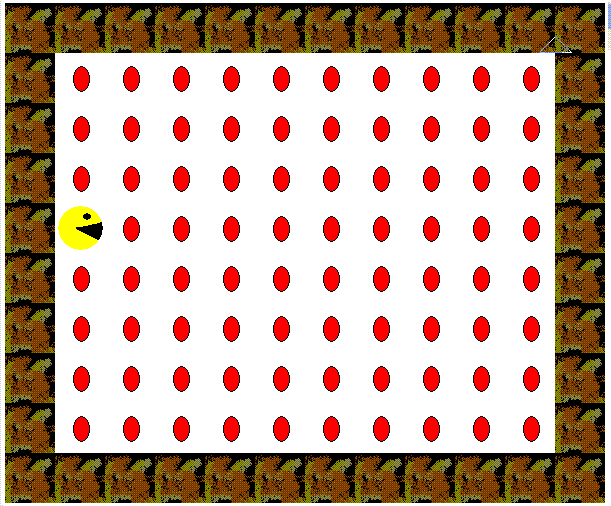
Copying the image.
This doesn't achieve anything but it lays the foundation for all that follows.
You use two turtles, the first turtle scans the source image whilst the second draws a copy.
to copy :xSize :ySize
for [yCo 0 :ySize-1 1] [
for [xCo 0 :xSize-1 1] [
setturtle 0
pu setxy :xCo :yCo pd
setpencolor pixel
setturtle 1
pu setxy -200+:xCo 0+:yCo pd
fd 1
]]
end
|
- The procedure takes two arguments. These are the dimensions of the image in pixels.
- Two nested for loops scan across the image and then move up a line at a time.
- setturtle 0 gains control of turtle 0.
- This turtle reads the pixel at x,y and sets the pencolor to this value.
- setturtle 1 gains control of turtle 1.
- This turtle colors the pixel at x-200,y.
|
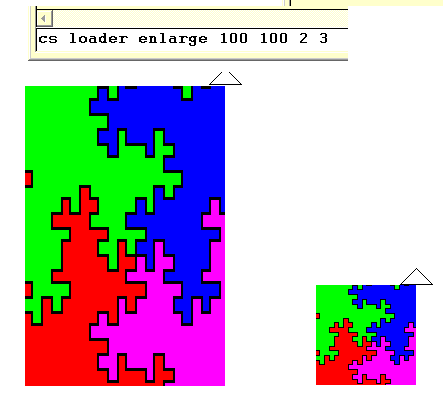
Enlarging the image.
Each axis can be enlarged by a different scale factor.
It is important to work from the target image to ensure that blank pixel rows are not created. The source image must be stretched to fill the target area.
This is achieved by making the outer loops larger by the appropriate factor.
to enlarge :xSize :ySize :xFac :yFac
for [yCo 0 :yFac*:ySize 1] [
for [xCo 0 :xFac*:xSize 1] [
setturtle 0
pu setxy int(:xCo/:xFac) int(:yCo/:yFac) pd
setpencolor pixel
setturtle 1
pu setxy int(-400+:xCo) :yCo pd
fd 1
]]
end
|
|
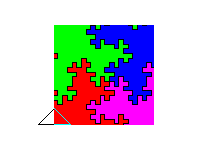
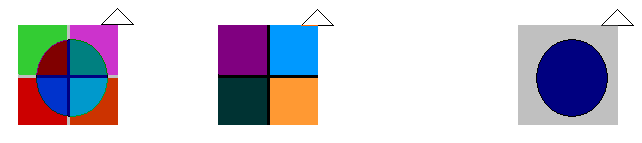
Working with masks
This enables you to map an image onto the coloured parts of a prexisting mask.
This is very useful for making tiles to perform tessellations with.
The
mask must be smaller than the source image and it mustn't contain internal white pixels.
Load the mask
to maskload
pu setxy -200 0 pd
bitload "c:\\Programming\\logo\\bmps\\mask1.bmp
end
|

Run loader first to load the source image and then run maskload to load the mask.
|
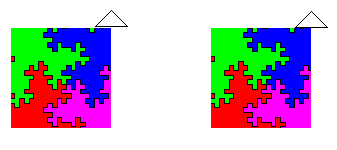
Mapping onto the mask.
to mask :xSize :ySize
for [yCo 0 :ySize 1] [
for [xCo 0 :xSize 1] [
setturtle 0
pu setxy :xCo :yCo pd
setpencolor pixel
setturtle 1
pu setxy -200+:xCo 0+:yCo pd
if not(pixel=[255 255 255])[fd 1 ]
]]
end
|

The only new code here is the in the if statement. This reads the pixel at the drawing position and only colours it in if it isn't white.
This line could be modified to do all manner of interesting things!
|
Colour addition.
This code reads the pixel values from two source images and adds the colours together.
to addcol :xSize :ySize
make "cols1 {0 0 0}@0
make "cols2 {0 0 0}@0
for [yCo 0 :ySize-1 1] [
for [xCo 0 :xSize-1 1] [
setturtle 0
pu setxy :xCo :yCo pd
setitem 0 :cols1 (item 1 pixel)
setitem 1 :cols1 (item 2 pixel)
setitem 2 :cols1 (item 3 pixel)
setturtle 2
pu setxy :xCo+300 :yCo pd
setitem 0 :cols2 (item 1 pixel)
setitem 1 :cols2 (item 2 pixel)
setitem 2 :cols2 (item 3 pixel)
repeat 3 [
setitem repcount-1 :cols1 (remainder ((item repcount-1 :cols1)+(item repcount-1 :cols2)) 255)
]
setpencolor arraytolist :cols1
setturtle 1
pu setxy -200+:xCo 0+:yCo pd
fd 1
]]
end
|
Colour inversion.
This code reads the source image and inverts the colours.
255 255 255 is white. This inverts to 0 0 0, black.
0 0 255 is blue. This inverts to 255 255 0, yellow.
to invcol :xSize :ySize
make "cols {0 0 0}@0
for [yCo 0 :ySize-1 1] [
for [xCo 0 :xSize-1 1] [
setturtle 0
pu setxy :xCo :yCo pd
setitem 0 :cols (255-(item 1 pixel))
setitem 1 :cols (255-(item 2 pixel))
setitem 2 :cols (255-(item 3 pixel))
setpencolor arraytolist :cols
setturtle 1
pu setxy -200+:xCo 0+:yCo pd
fd 1
]]
end
cols is an array used for manipulating the RGB values.
The three setitem lines subtract the current RGB values from 255 abd store these values in the cols array.
The array is then converted to a list which setpencolor can recognise and use.
|
cols1 and cols2 are arrays used for holding the RGB values.
The setitem repeat line then adds the values and reduces them modulo 256 to give integers in the range 0-255 which Logo recognises as RGB codes.
The array is then converted to a list which setpencolor can recognise and use.
|